📦 Next Steps After Creating a Request
After creating the lab request, the request becomes visible on:
- The Specimen Collection Page (for the phlebotomy team)
- The Specimen Reception Page (once collected)
- The Laboratory Page (for entering results and printing reports)
🔬 Specimen Collection and Specimen Reception
📦 What Is a Specimen?
In lab workflows, a specimen refers to the biological material collected from the patient for analysis. Common examples include:
- 🩸 Blood
- 💦 Urine
- 💩 Stool
- 🫁 Sputum
- 🧫 Swabs (e.g., throat, nasal)
Accurate specimen handling is crucial to ensure valid test results. That’s why the system tracks every step: from who collected the sample, when it was taken, and when it was received in the lab.
🔍 Overview of Specimen Workflow
| Step | Page | Performed By |
|---|---|---|
| Request Lab Tests | All Requests | Doctor or Nurse |
| Collect Specimen | Specimen Collection Page | Nurse or Phlebotomist |
| Print Labels (optional) | Specimen Collection Page | Nurse or Phlebotomist |
| Receive Specimen | Specimen Reception Page | Lab Technician |
| Enter Test Results | Laboratory Page | Lab Technician |
| Finalize Report | Laboratory Page | Supervisor / Validator |
🧪 Specimen Collection Page
🔍 What You See:
This page shows all pending test requests that need sample collection. You’ll see:
- A list of requests, grouped by status
- Icons for Urgent (⚠️) or High Priority (🚩) flags
- A sidebar filter to find specific patients
🛠 What You Can Do:
1. Search for the Patient/Test Request
Use the search bar at the top left of the screen. You can type the patient's name, file number, or keywords related to the test.
2. Open the Request
Click on a card to open the detailed view. This will show you:
- Patient demographics (age, gender, file no.)
- Requested tests
- Status (e.g., “Test Ordered”)
- Total bill and balance
- Requesting clinician
3. Navigate Tabs
Within each request you will find the following tabs:
- Request – Patient and test details
- Specimens – Manage samples collected
- Tests – Review tests requested
- Bill – Billing and payment
- Comments – Notes from team members
- Expenses – Related operational costs
- Tasks – Follow-up actions
- Timeline – Action history log
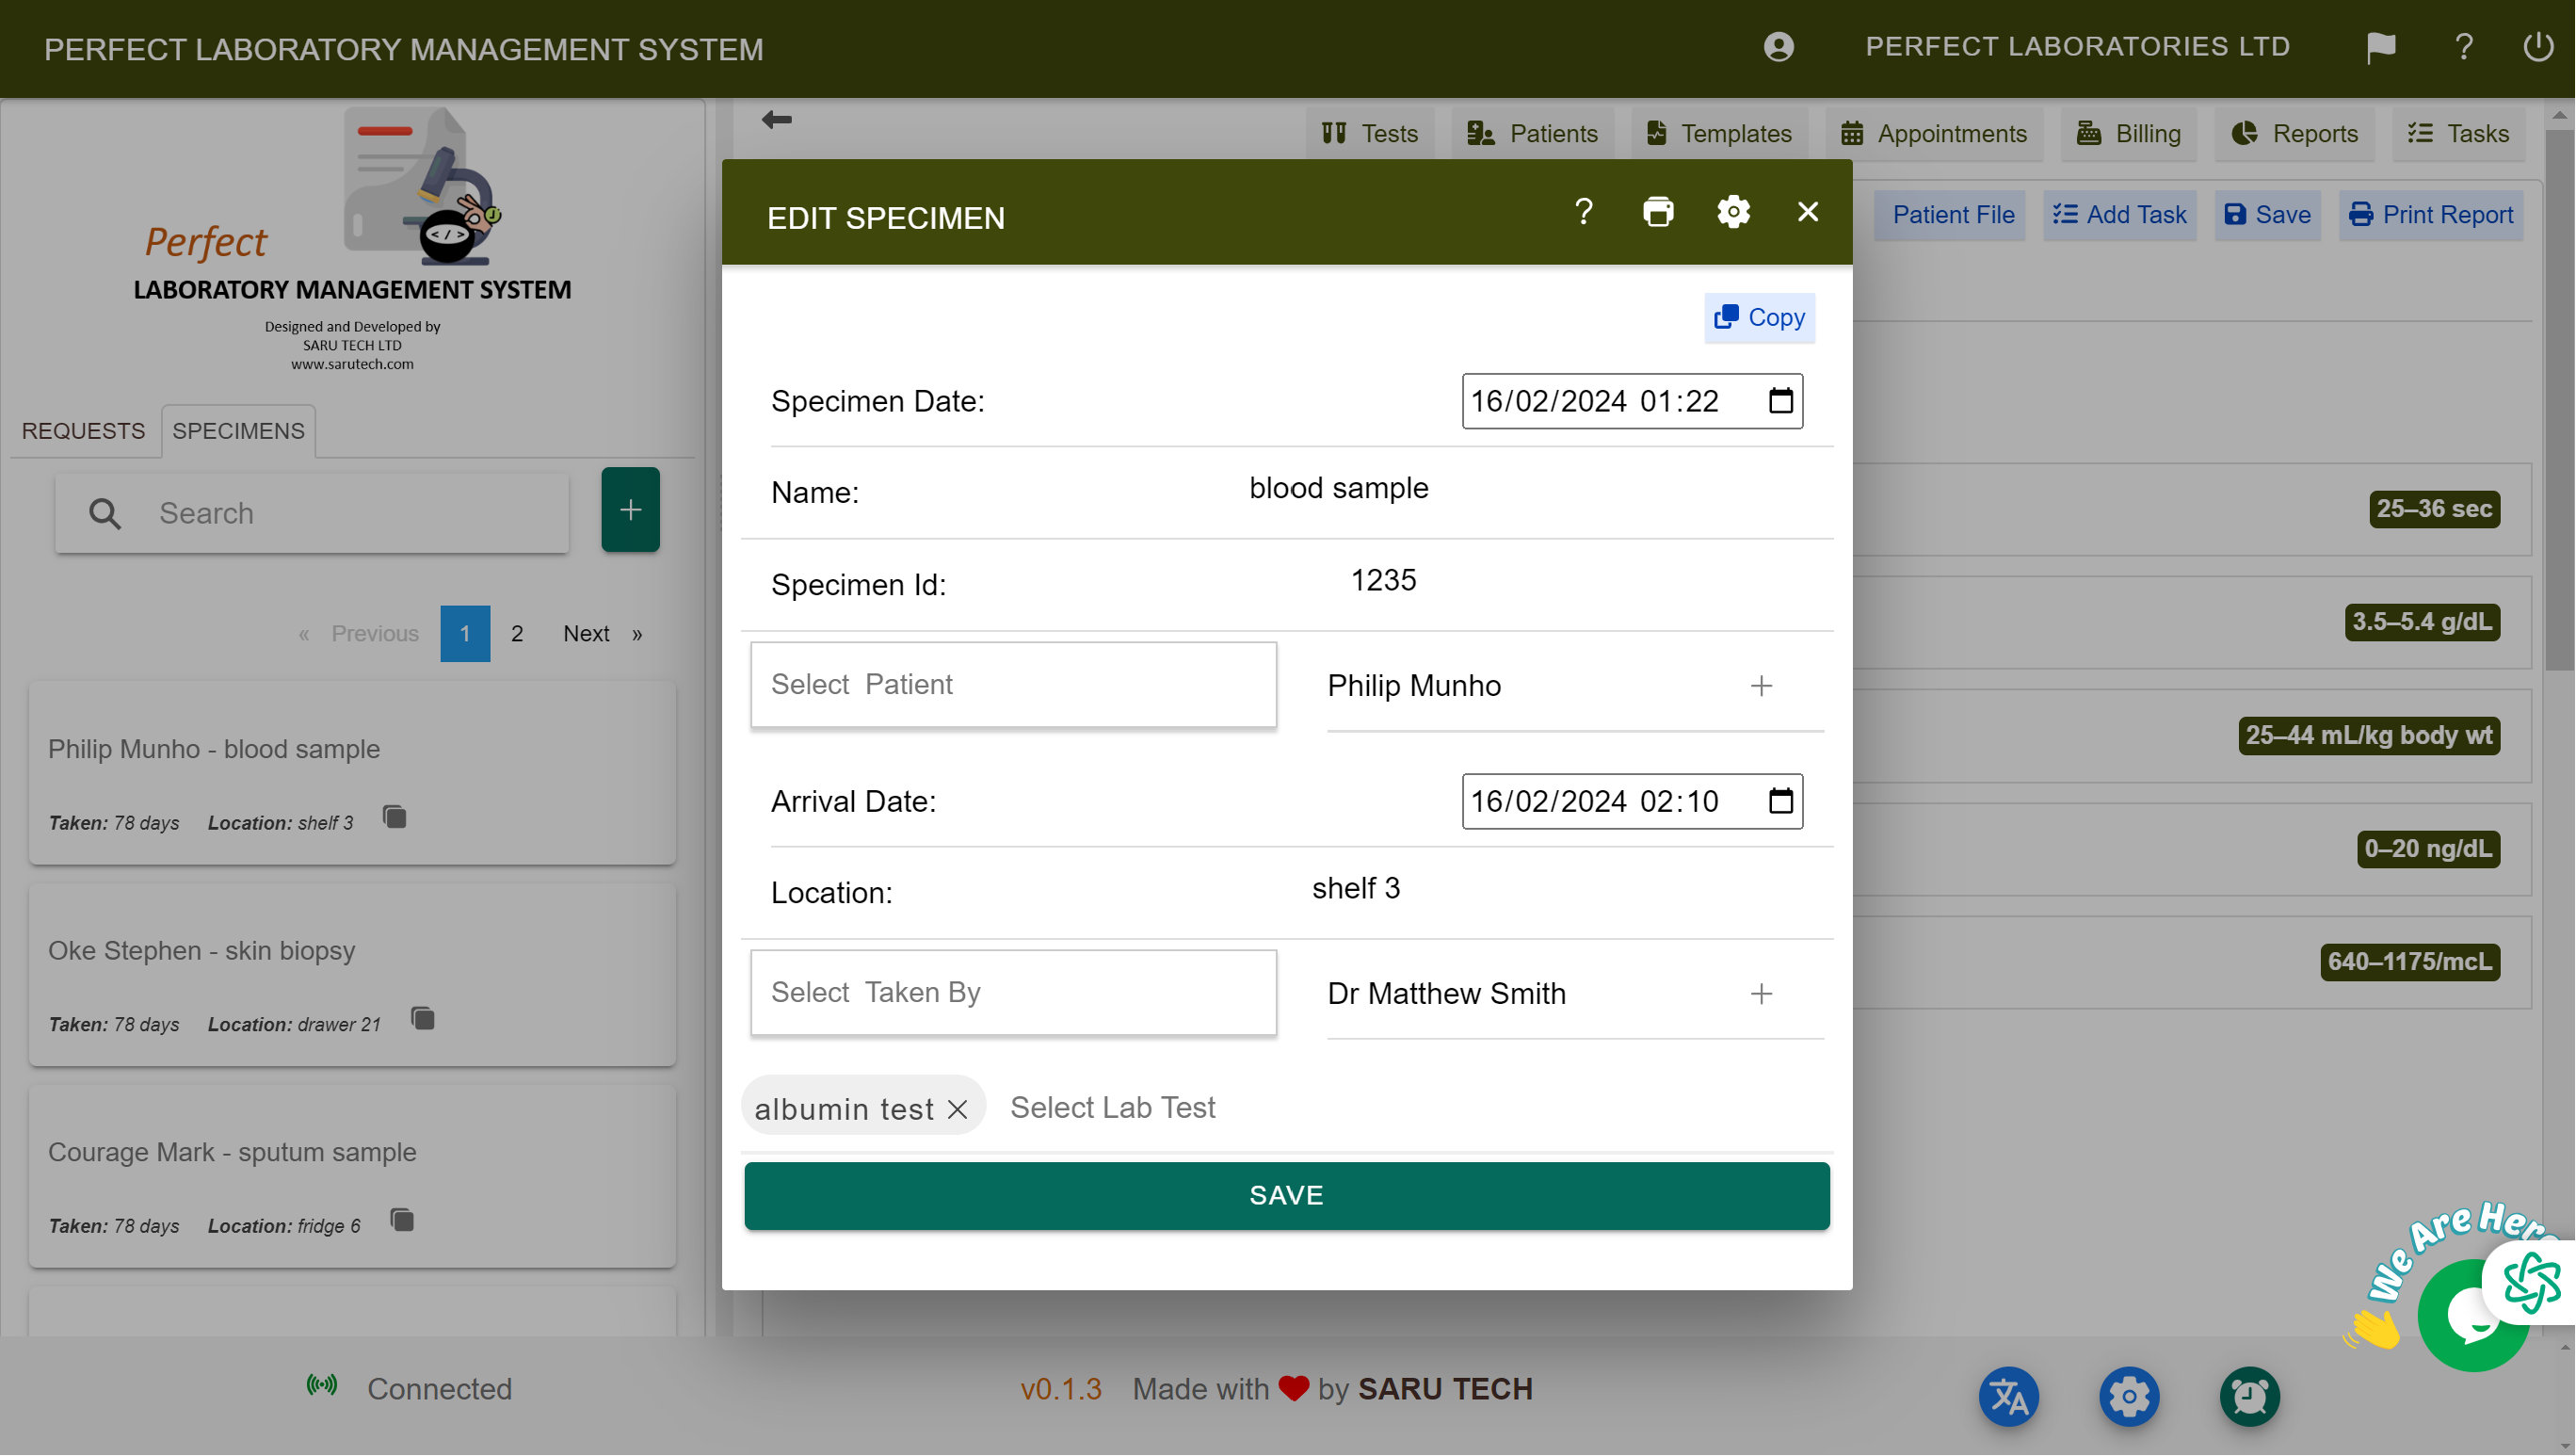
➕ Add a Specimen
- Go to the Specimens tab.
- Click the “Add Specimen” button.
- Enter details:
- Specimen type (e.g., Blood, Urine)
- Description (optional)
- Taken By: Select your name
- Date & Time of collection
- Save.
- The request status will automatically update to Specimen Taken.
🏷️ You can also print a Specimen Label with the patient's info and test barcode.
🧪 Specimen Reception Page
🔍 Purpose:
Used by laboratory staff to confirm that the physical specimen has been received by the lab.
🛠 What You Can Do:
- Search for Incoming Samples: Look for specimens with status = Specimen Taken.
- Open the Request: Click on the corresponding patient/request card.
- View Collected Specimens: In the Specimens Tab, you will see:
- Specimen Type
- Taken By and Date
- Notes entered during collection
- Click the Specimen to Confirm Reception: Enter details and save.
🔐 After receiving, the specimen status updates to Specimen Received.