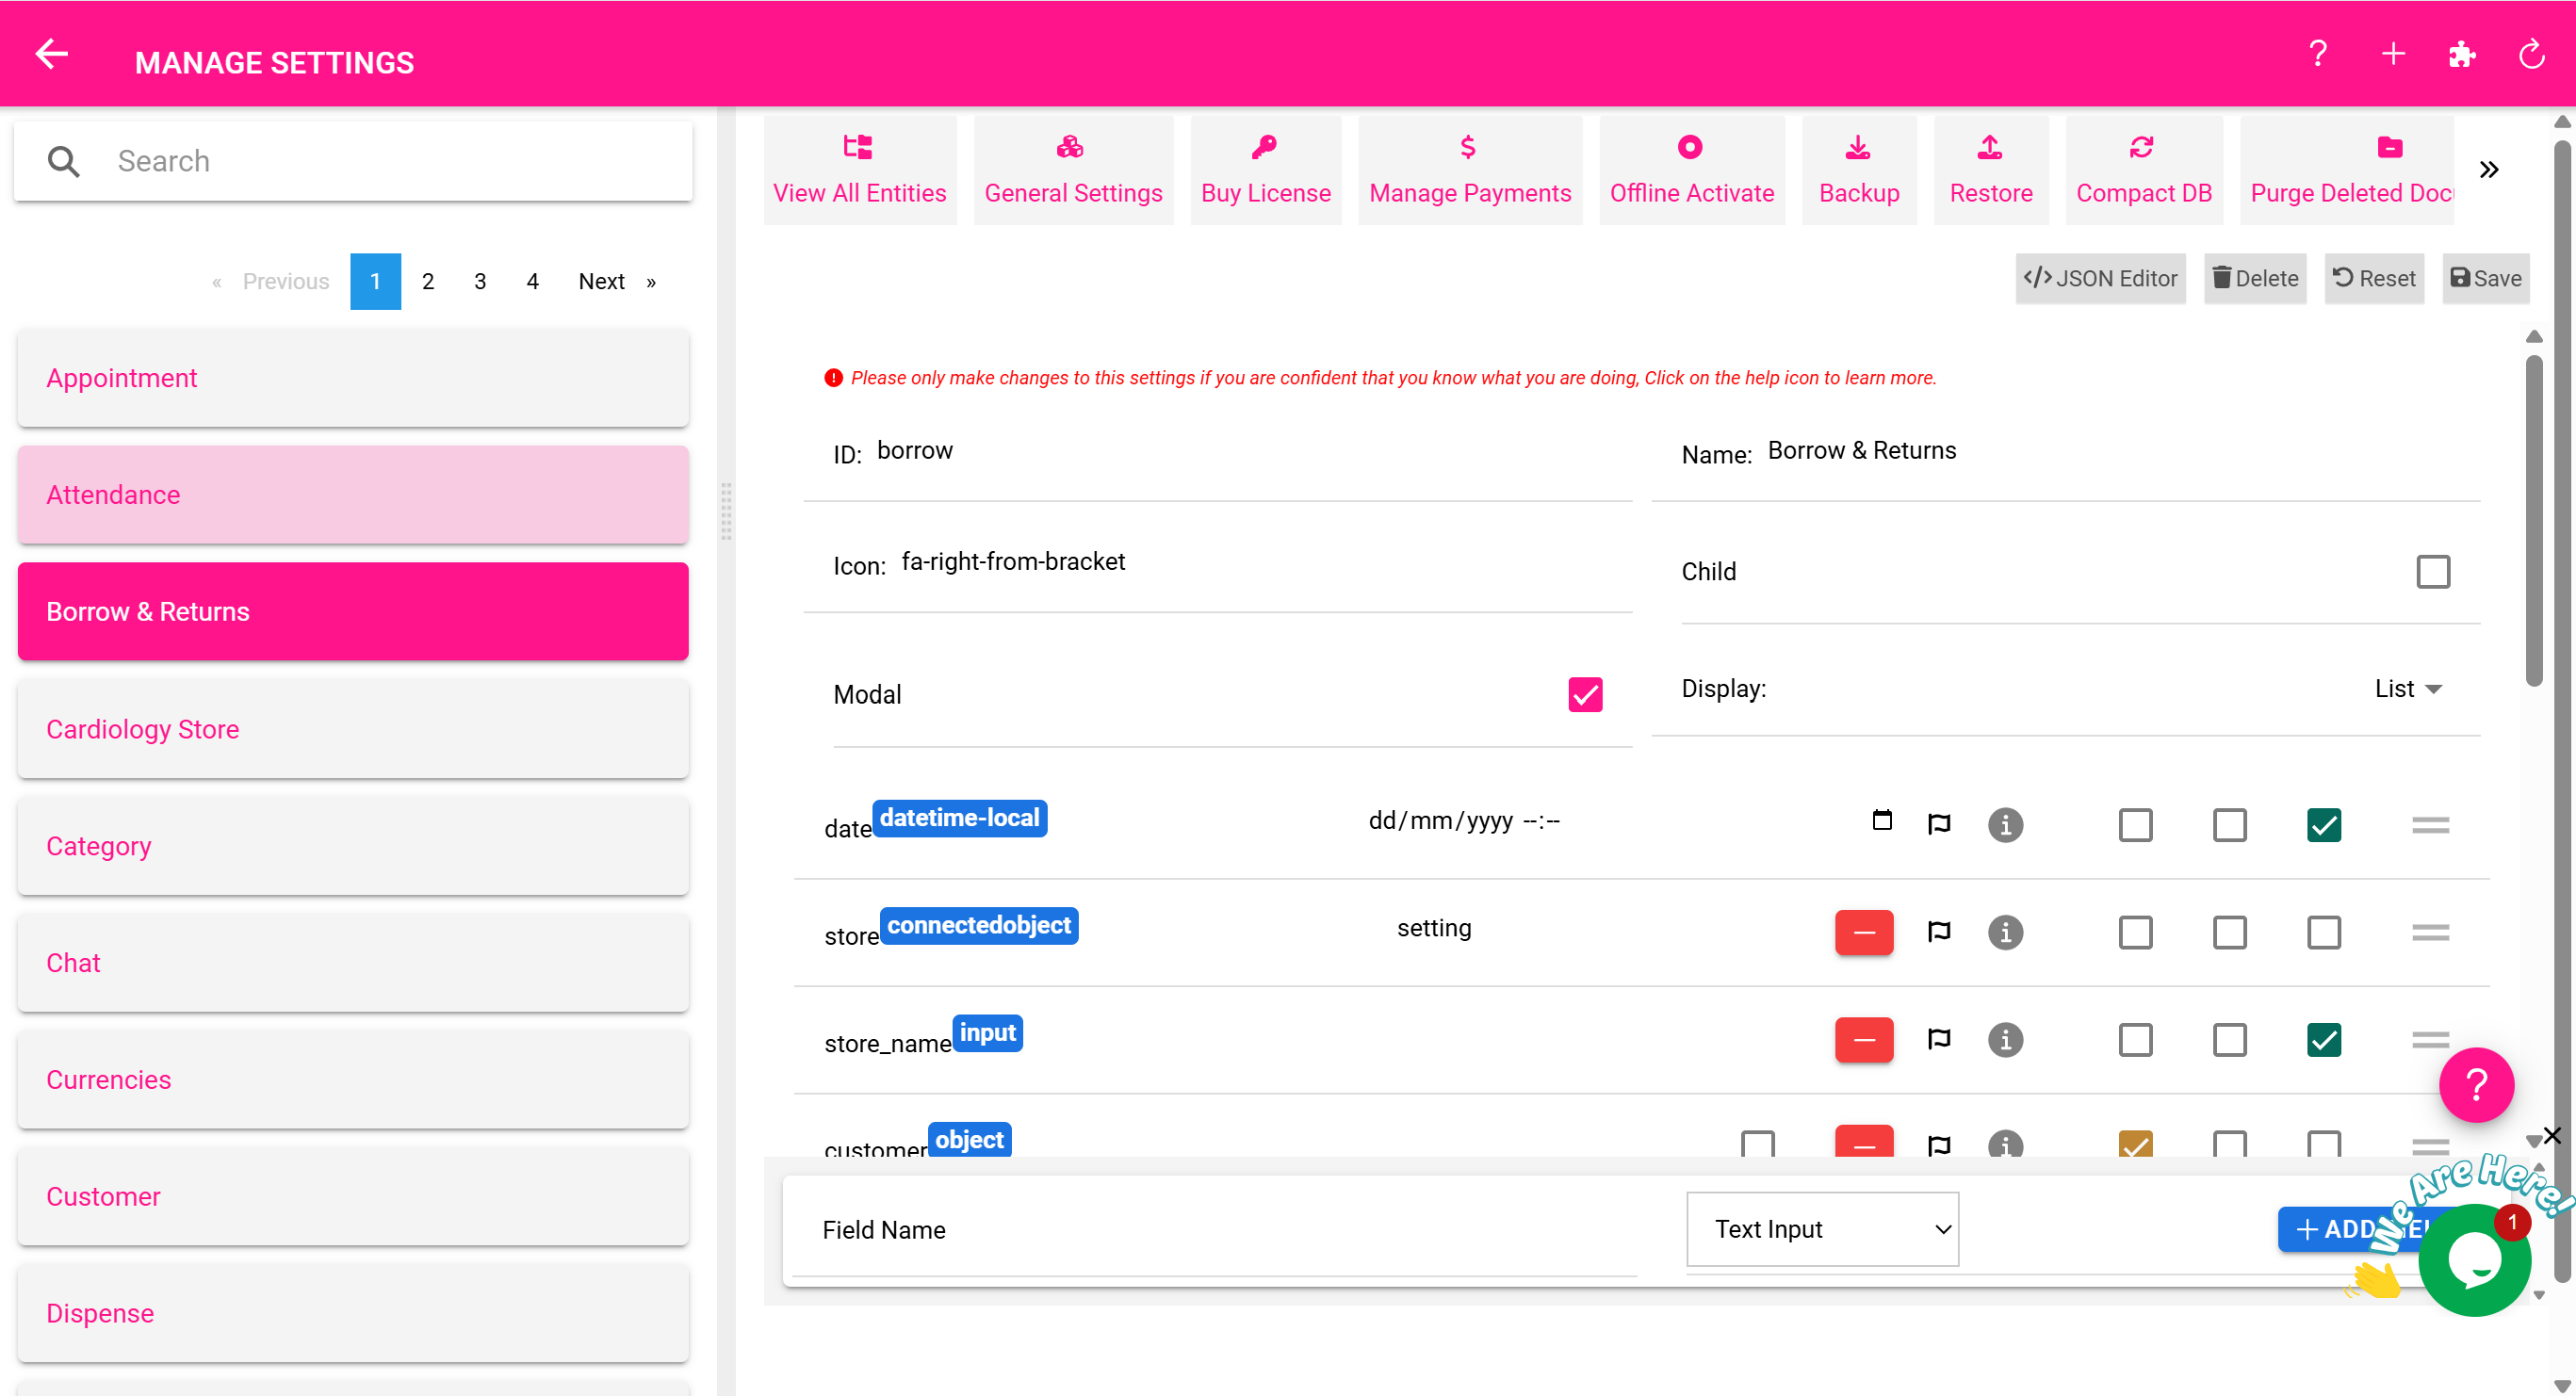
⚙️ Configuring Your System with the Settings & Permissions Page
The Settings & Permissions Page is where administrators customize the behavior of the Perfect Inventory Manager. From defining stores and user roles to setting alert thresholds, this page puts you in control of how the system operates.
🎯 What Can You Configure?
This page allows you to:
- 🏪 Add and edit stores or departments
- 🔔 Set quantity and expiry alerts
- 🧑💼 Define user roles and permissions
- 💵 Configure pricing tiers (e.g., Regular, Insurance)
- 📦 Customize product categories and units
- 🖨️ Manage barcode and receipt printing settings
🏪 Stores & Departments
Create logical or physical storage locations to organize your inventory:
- Add New Store: Set a name (e.g., Pharmacy, Surgical Store) and configure access permissions
- Edit Existing Store: Update details like contact info or visibility
- Store-Specific Settings: Customize alerts or workflows for each location
🔔 Alerts & Notifications
Prevent stockouts and waste by configuring proactive alerts:
- Quantity Alert Threshold: Set a global or product-specific low-stock warning level
- Expiry Alert Threshold: Define how many days in advance to warn about soon-to-expire products
💵 Pricing Configuration
Support multiple pricing levels for different customer types:
- Regular Price: Default retail price
- Insurance Price: Alternative price applied during POS sales for insured clients
✅ These pricing tiers appear at the POS, allowing cashiers to select the appropriate price for each transaction.
📦 Product Categories & Units
- Categories: Create groups like “Medications,” “Surgical Supplies,” or “Lab Equipment”
- Units & Subunits: Define measurement units (e.g., Box, Tablet, Pack)
✅ This structure supports inventory tracking and search filters throughout the system.
🖨️ Barcode & Receipt Settings
- Barcode Printing: Choose size and format for product labels
- Receipt Templates: Customize layout, add logos, or include terms
🧰 Real-Life Workflow: Adding a New Store
- Go to Settings & Permissions Page
- Click Add New Store
- Enter store name: “Laboratory Store”
- Set quantity and expiry alert preferences for the new store
- Assign user roles that can access this store
- Save and start managing inventory for this location
✅ The store appears in the dropdown for all inventory actions.
🧠 Best Practices
- Set quantity alerts slightly above average usage to avoid stockouts
- Regularly review user permissions to prevent unauthorized changes
- Update receipt templates with your facility logo and contact details
- Use categories and subunits for clear reporting and audits

